PVC Rural Fencing
Durable, low maintenance fencing for acreages, farms and equestrian properties.
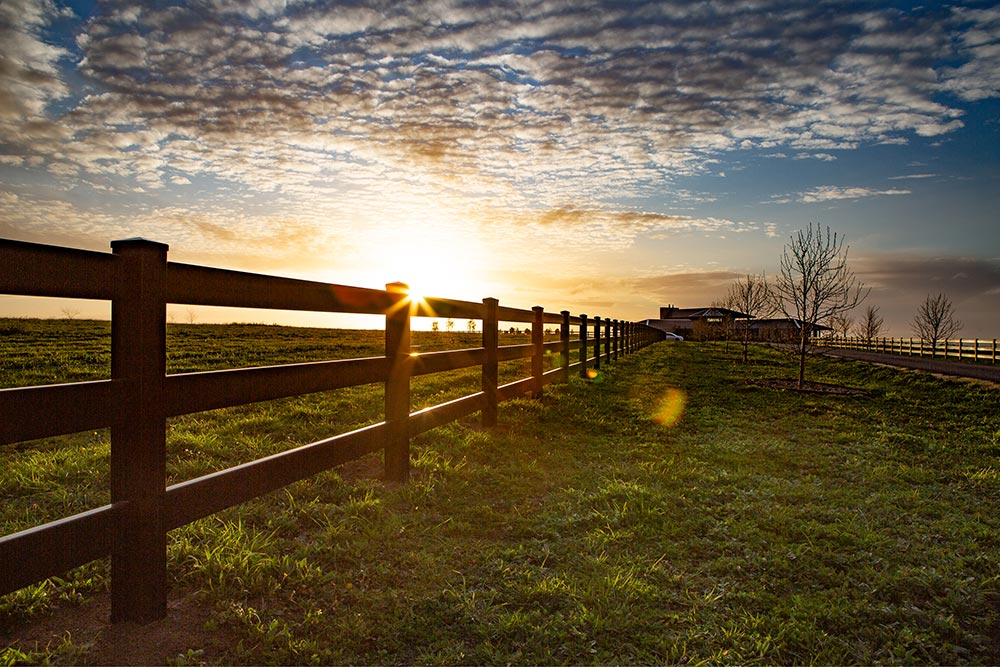
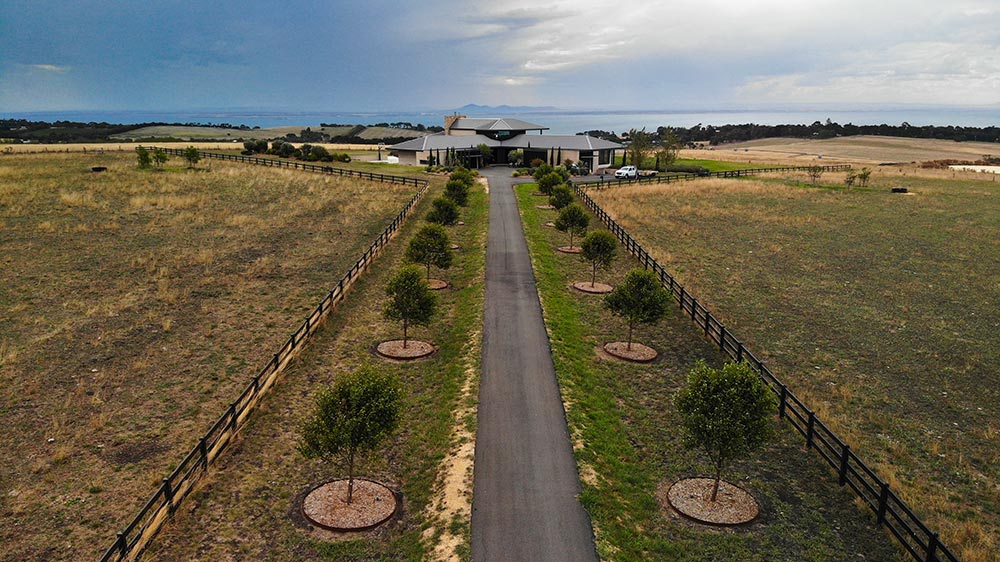
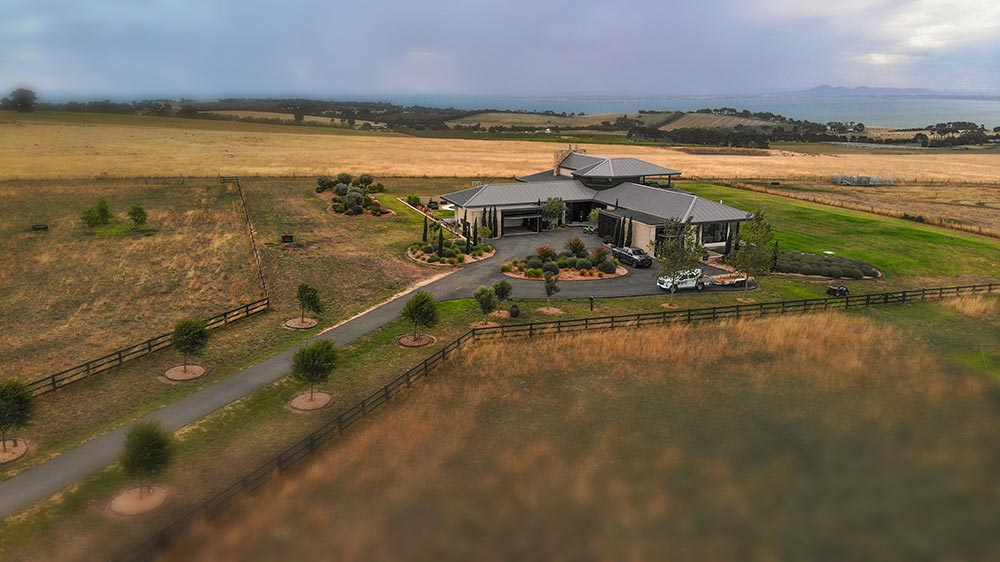
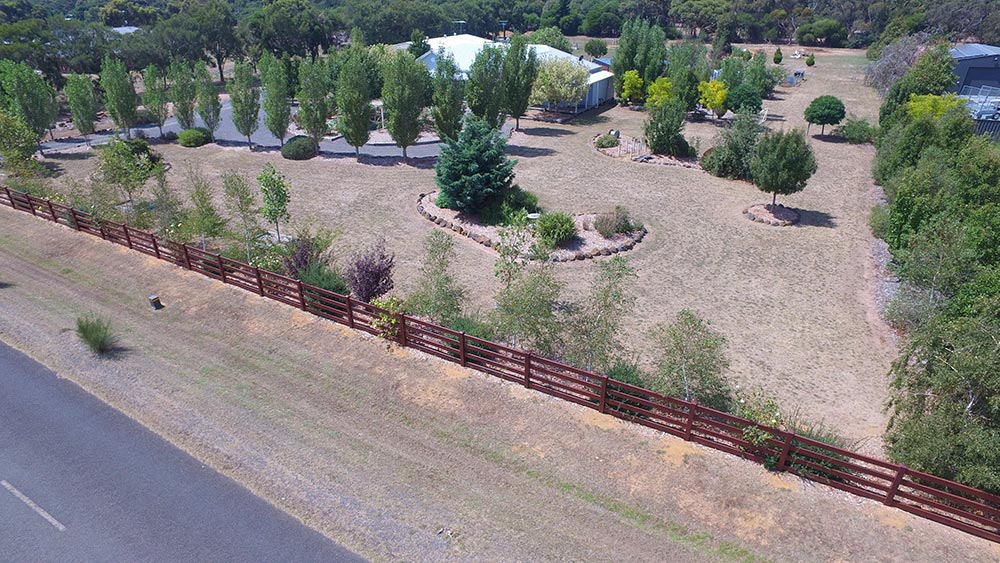
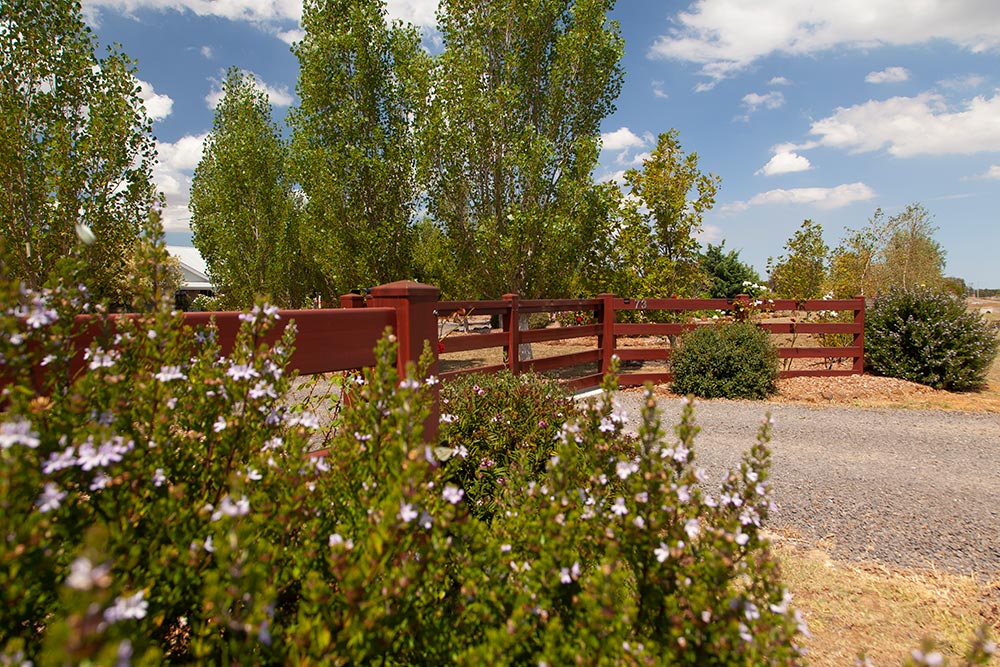
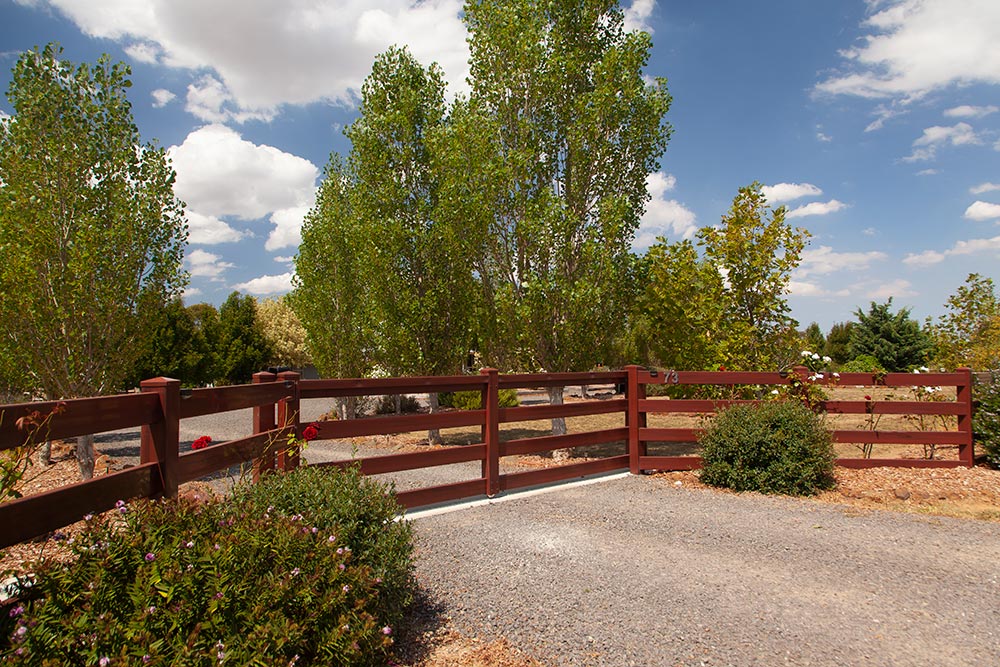
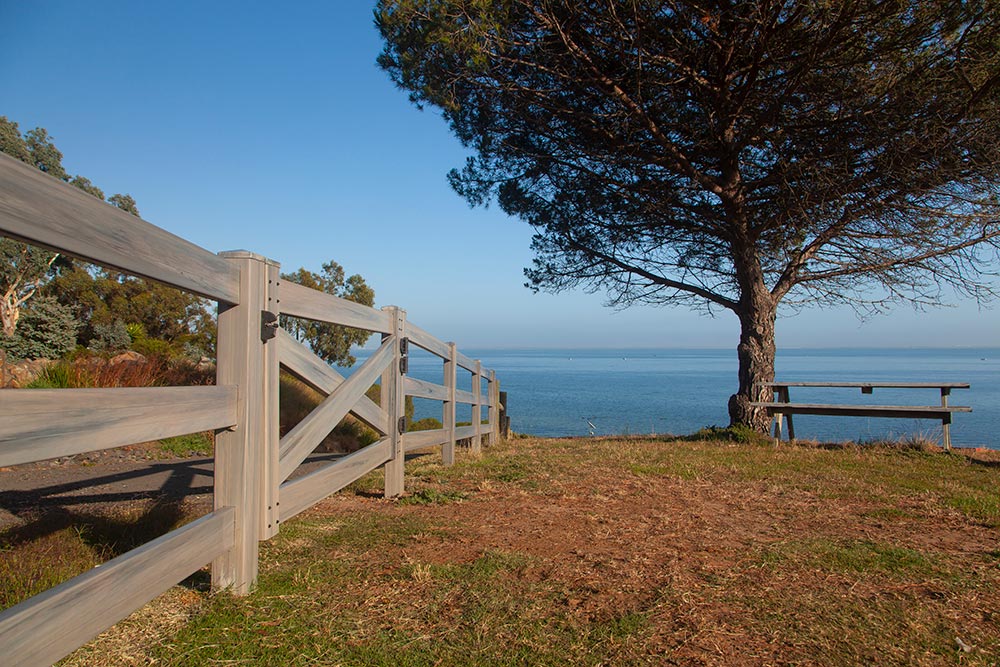
Built for Rural Properties
Rural fencing needs to handle weather, animals, vehicle access and long runs without constant upkeep.
Our PVC systems deliver strength, visibility and longevity without repainting or rust treatment. They are made from 100 percent recycled PVC and fully recyclable at end of life.
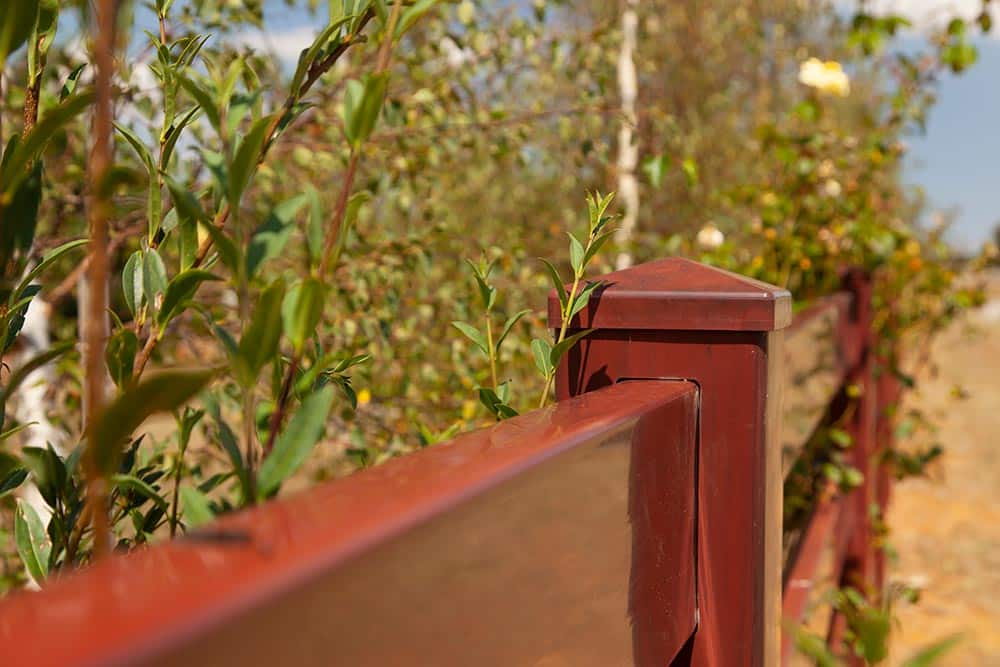
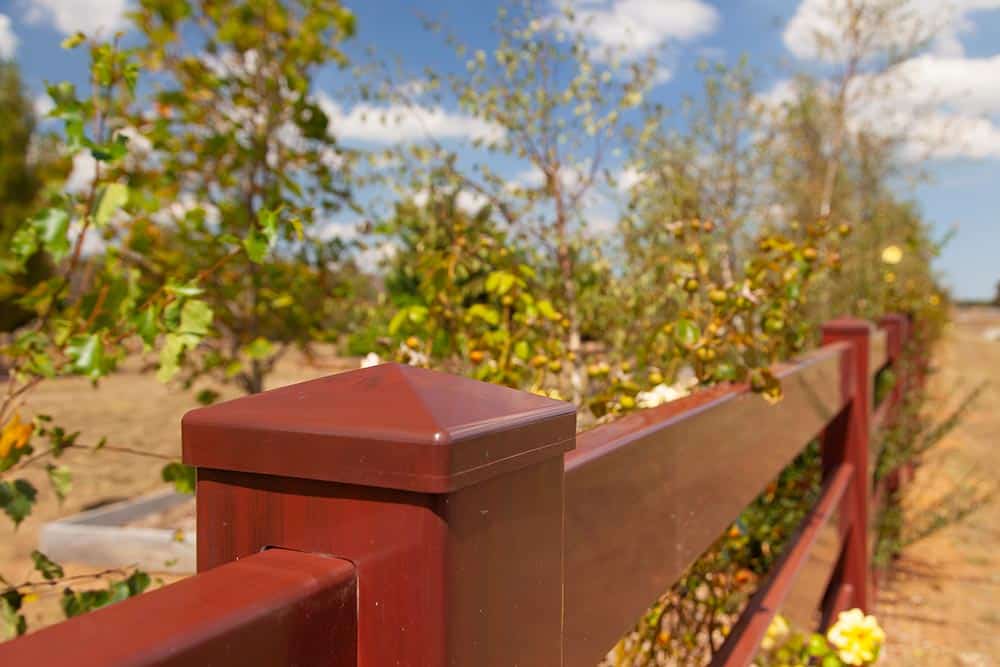
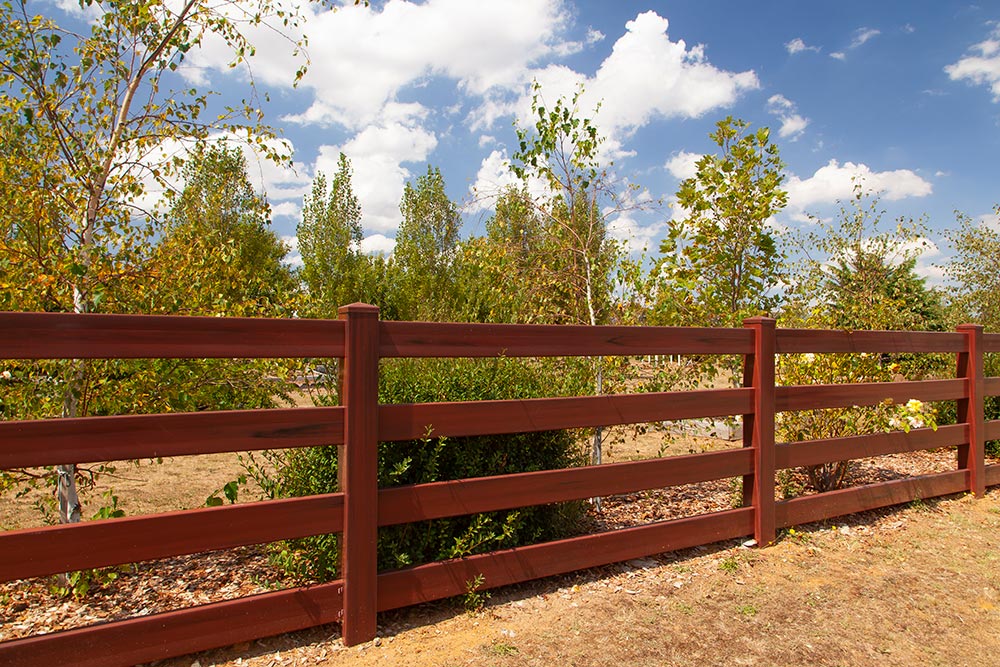
Our PVC Rural Fencing Range

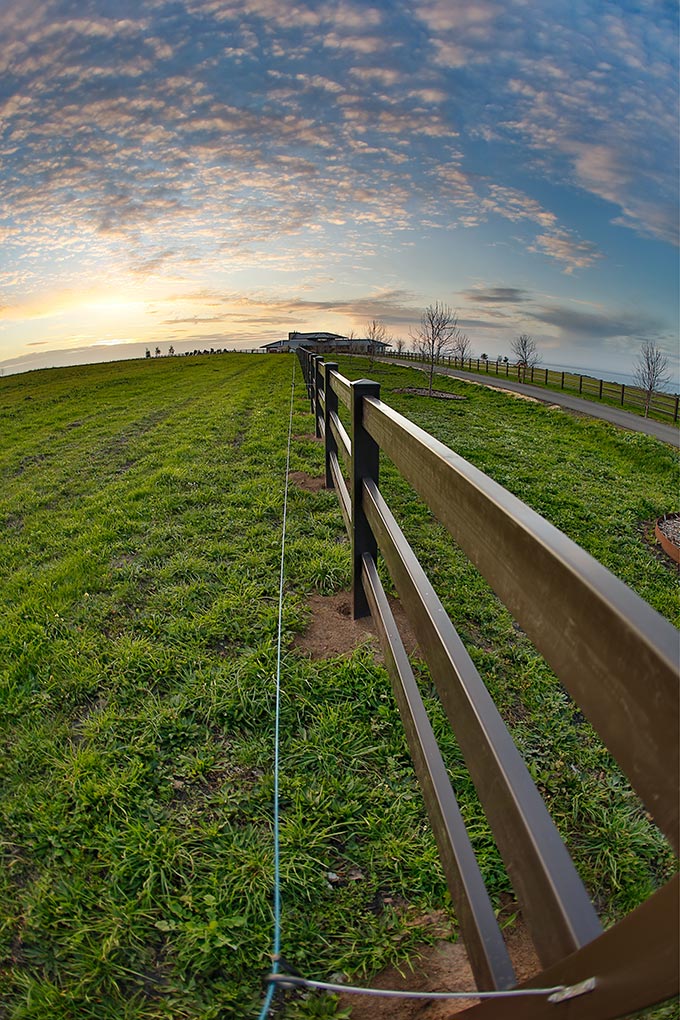
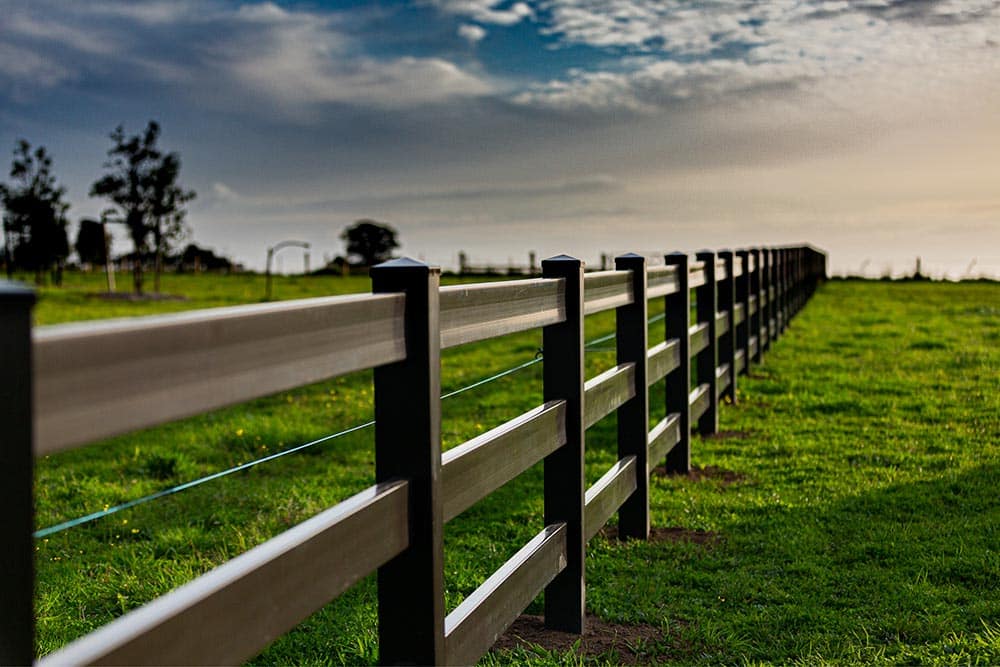
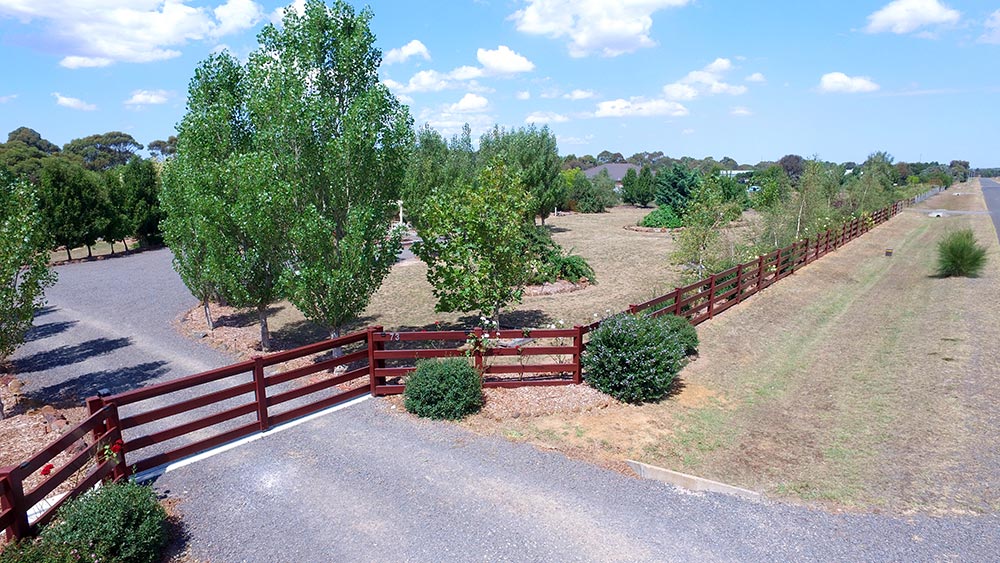
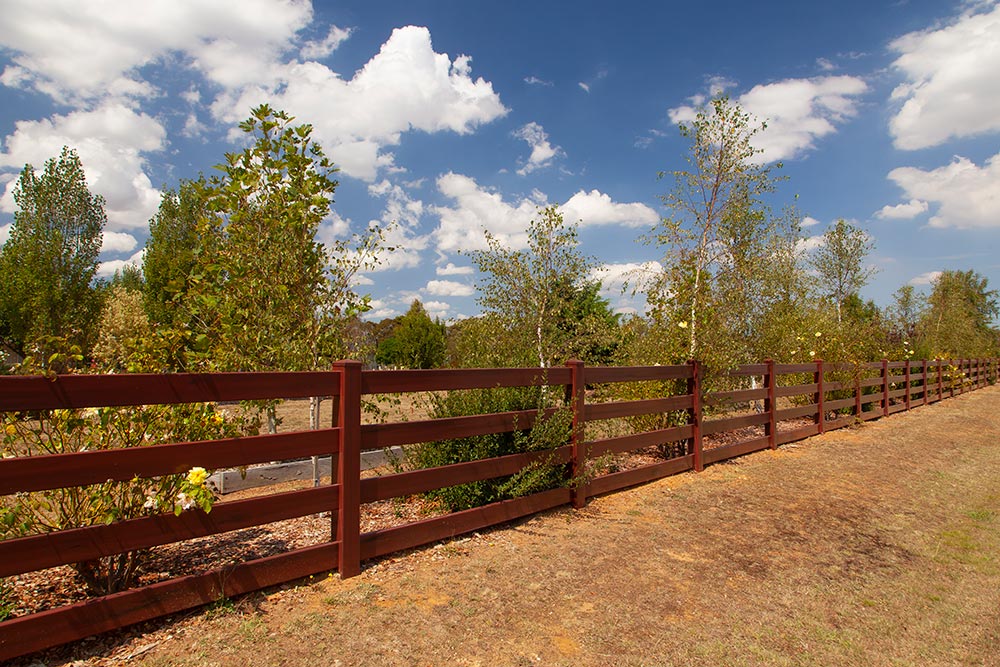
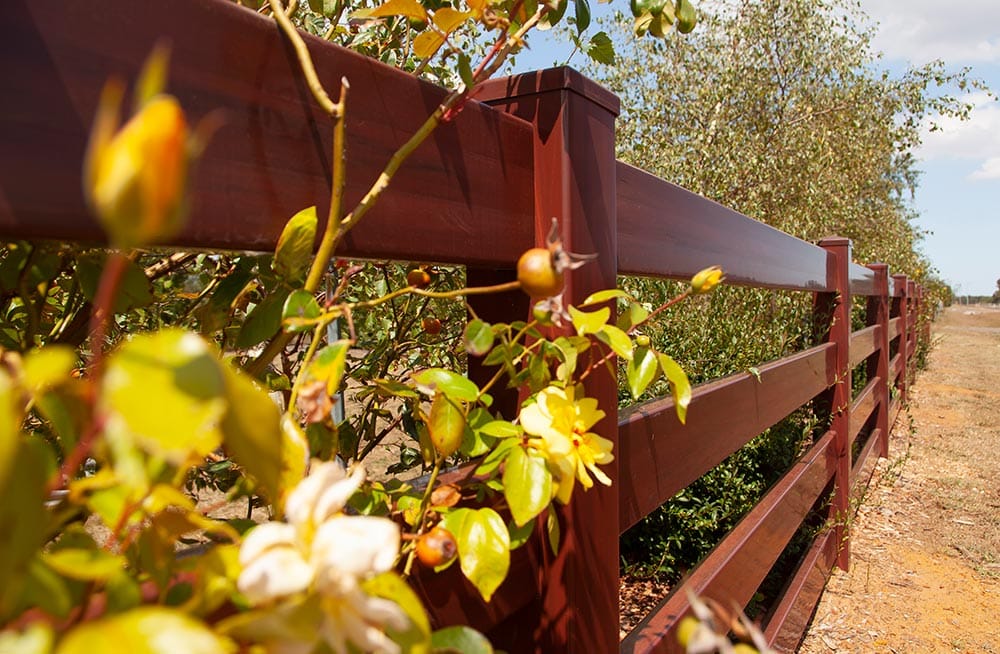
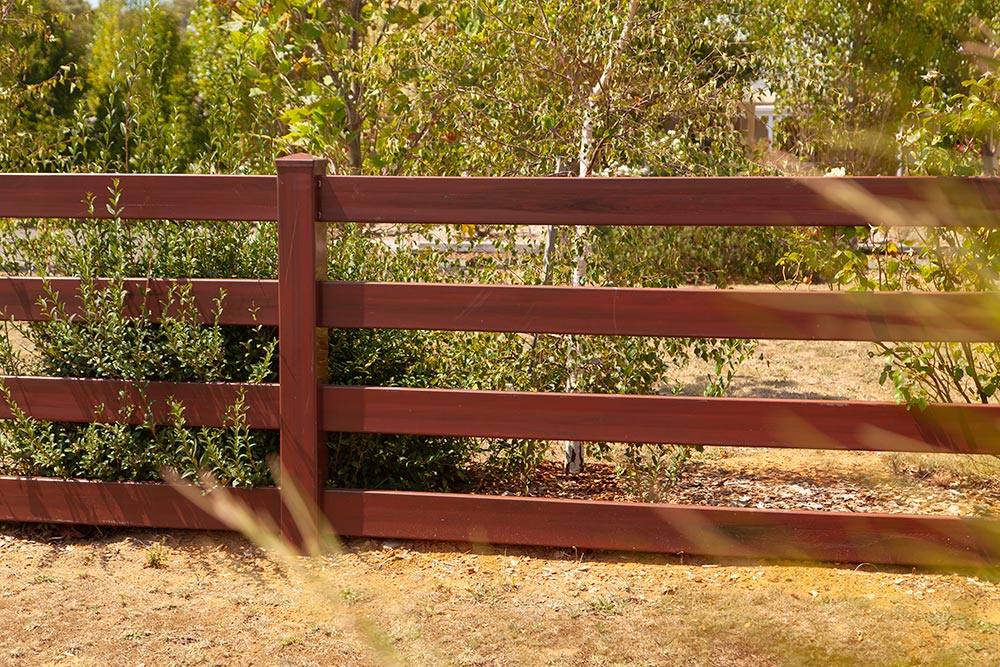
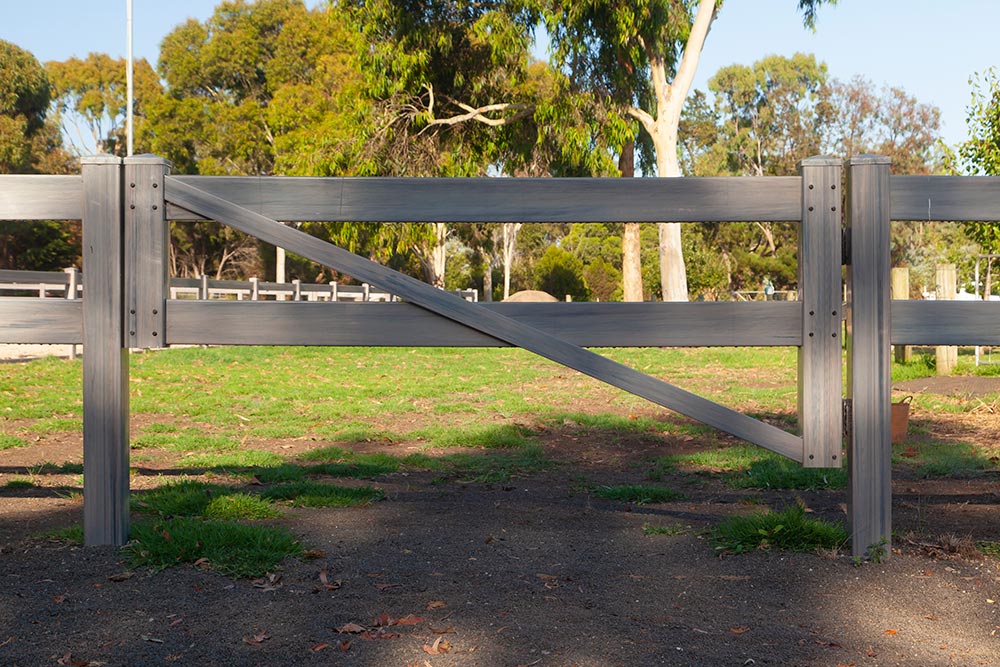
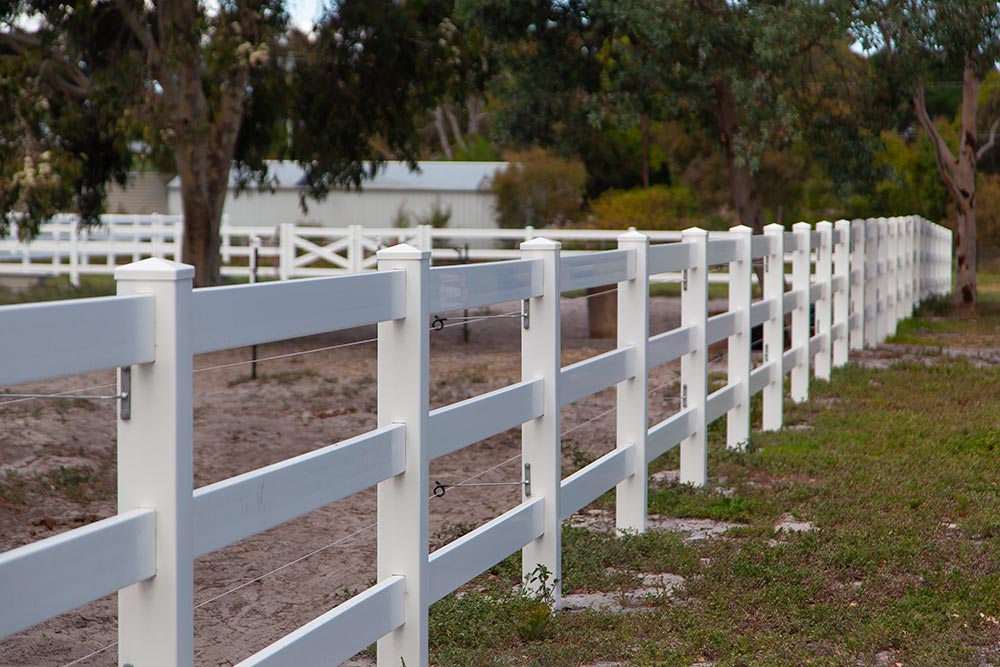
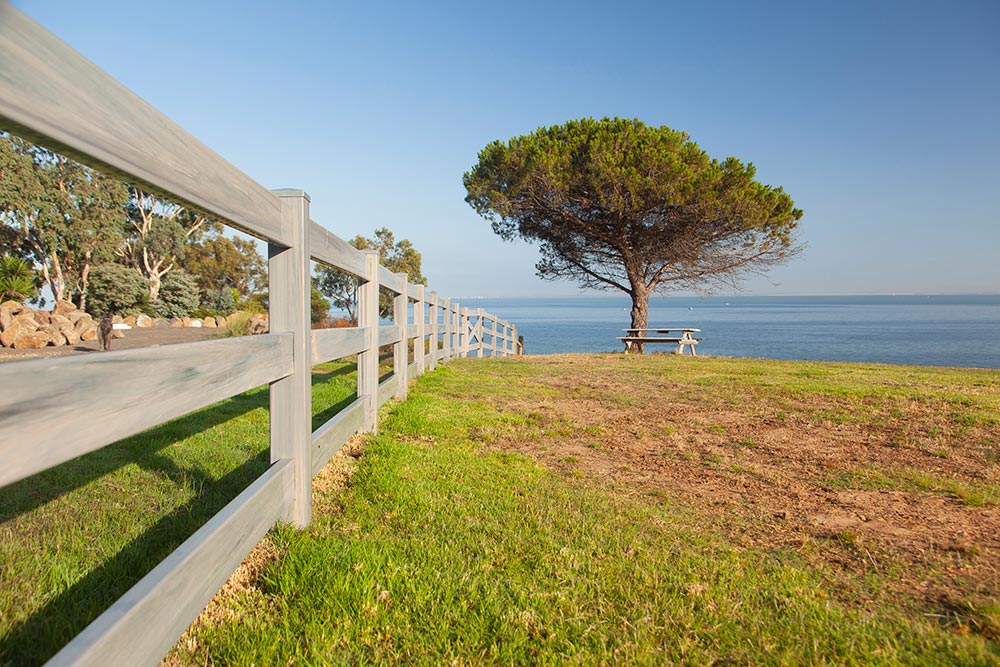
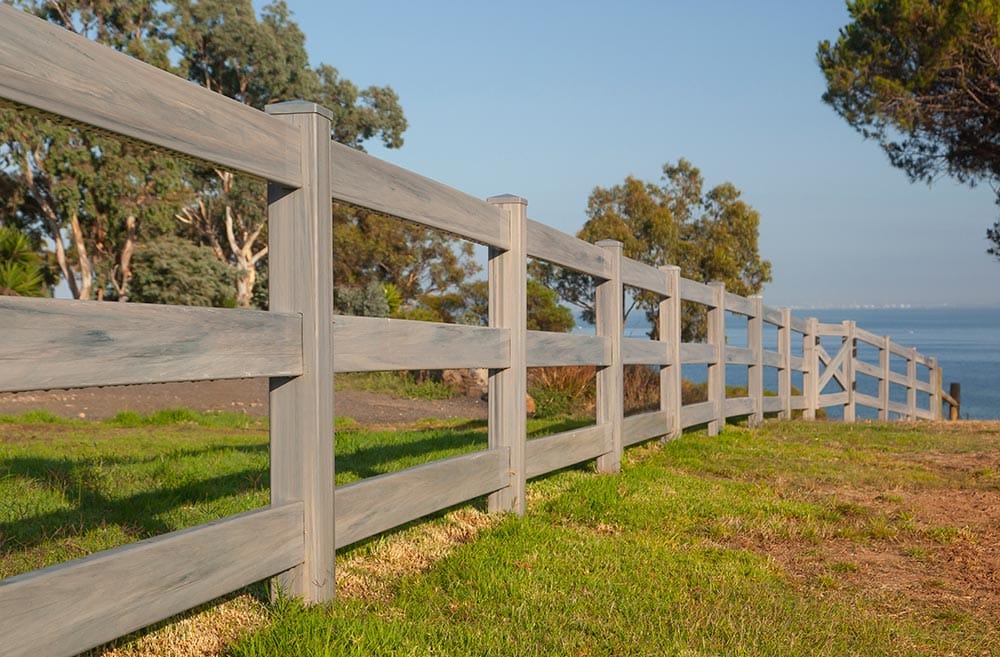
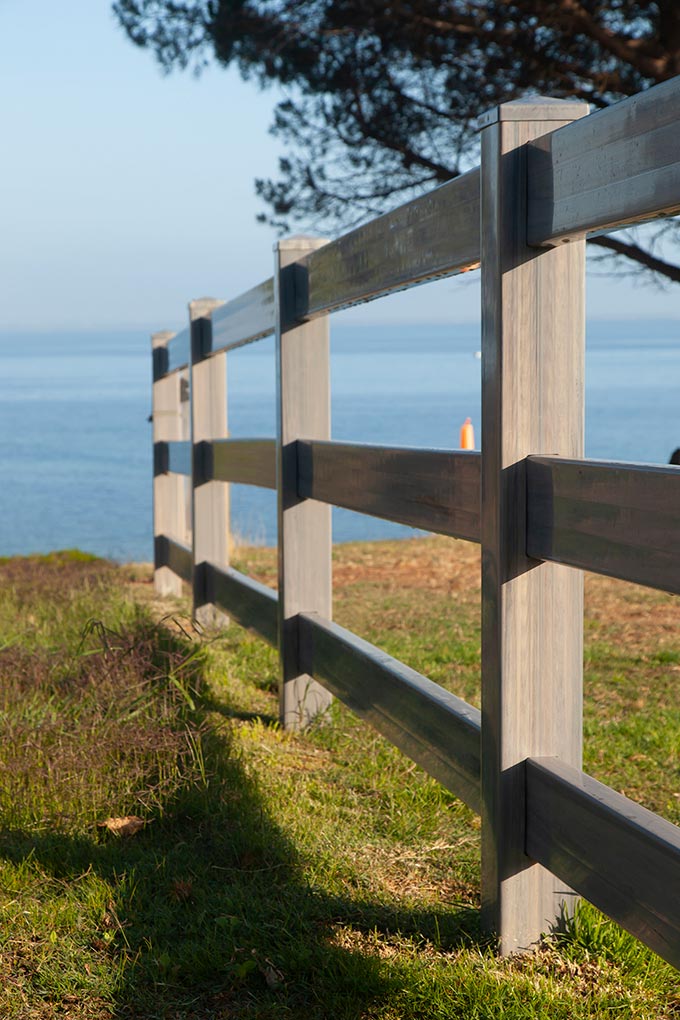
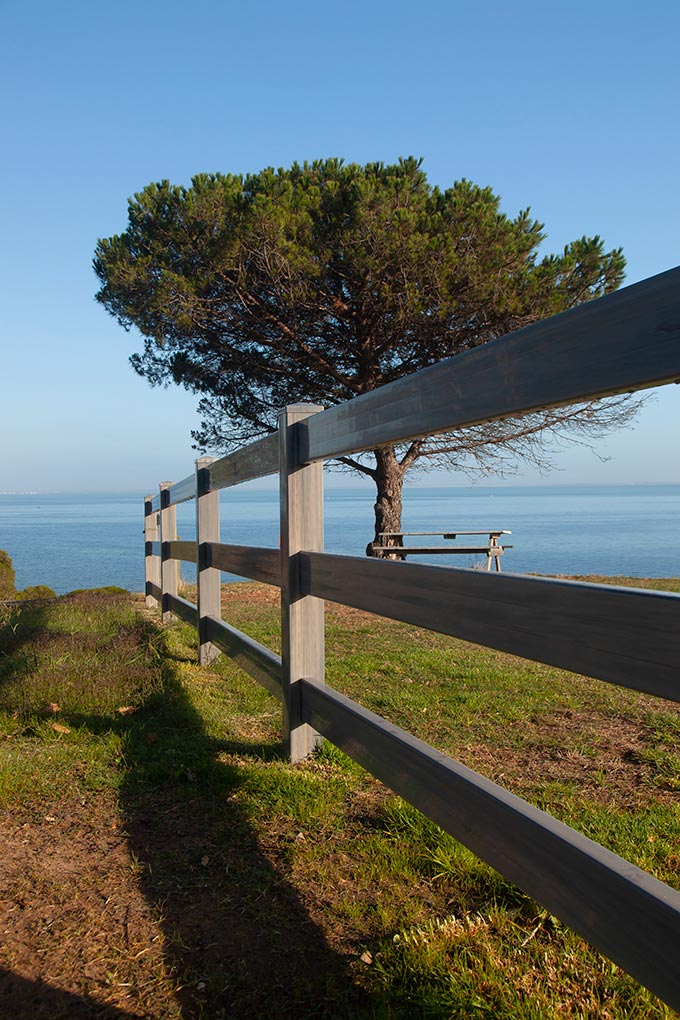
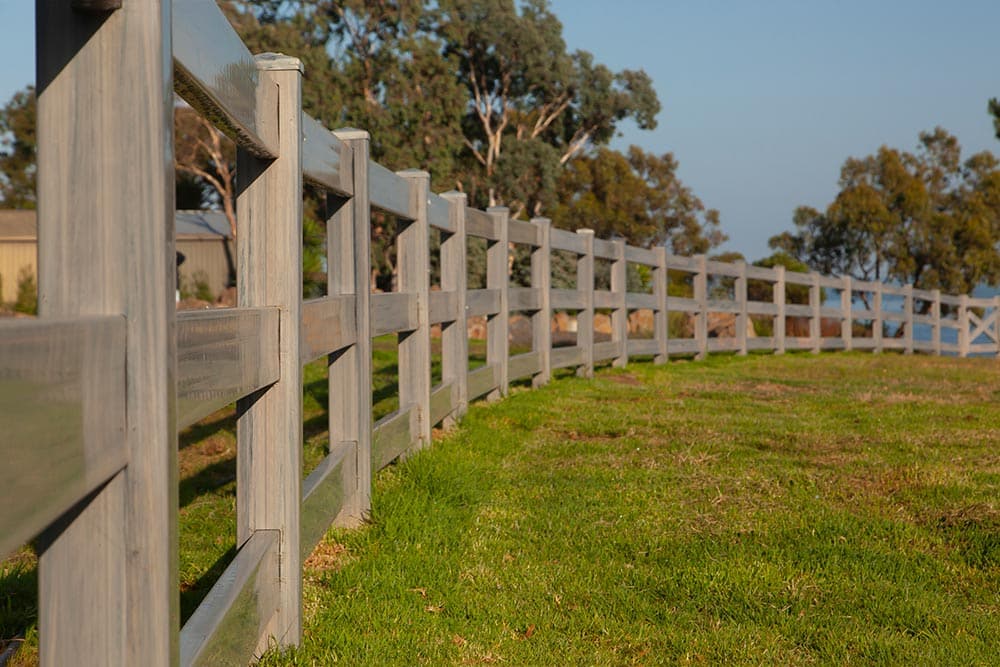
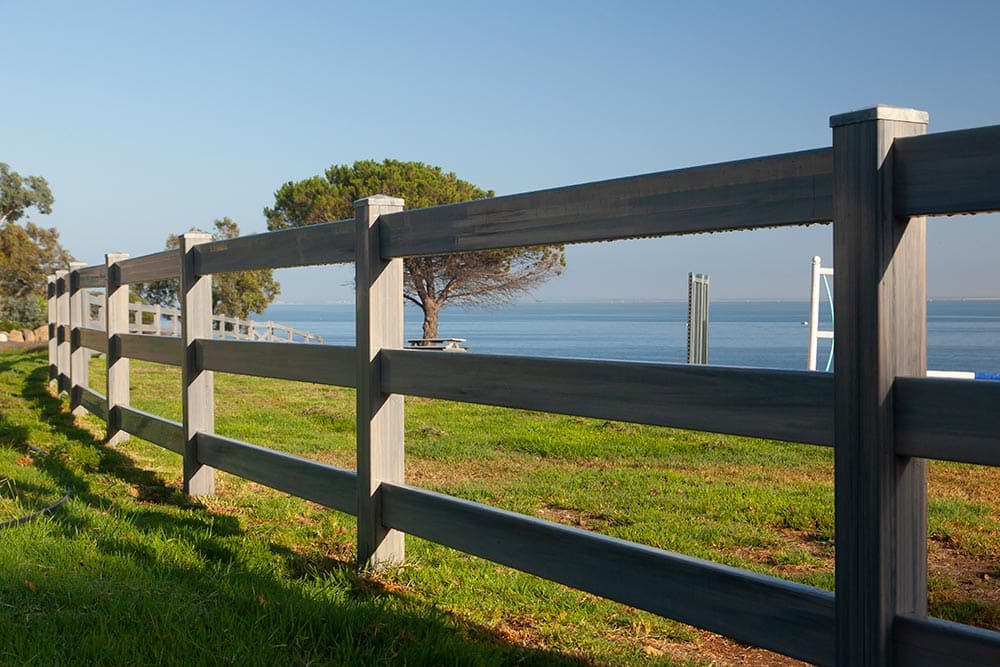
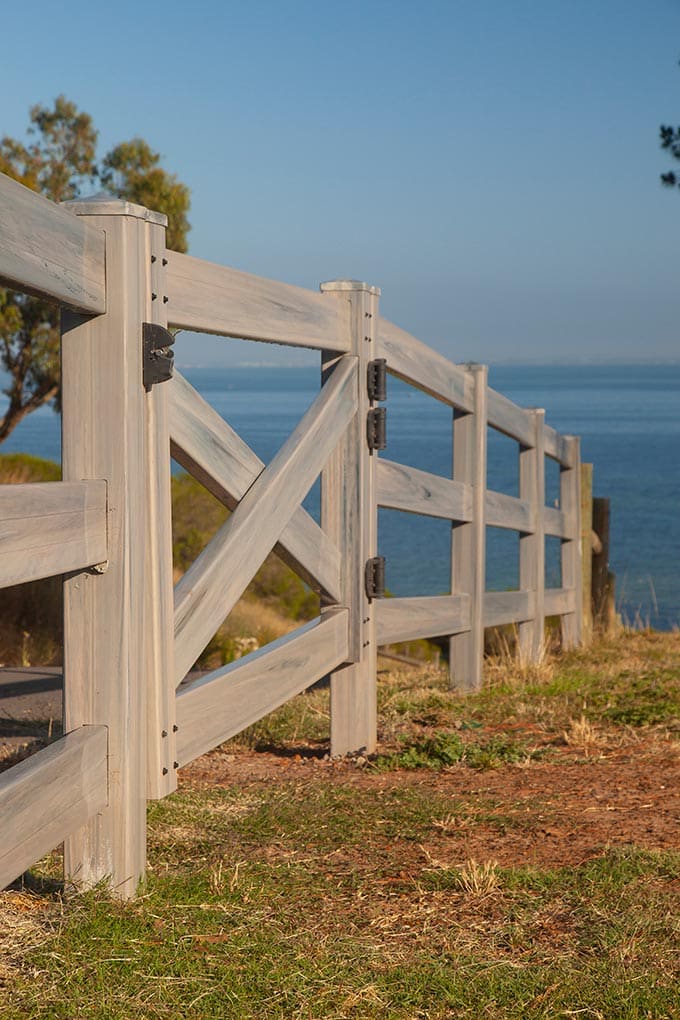
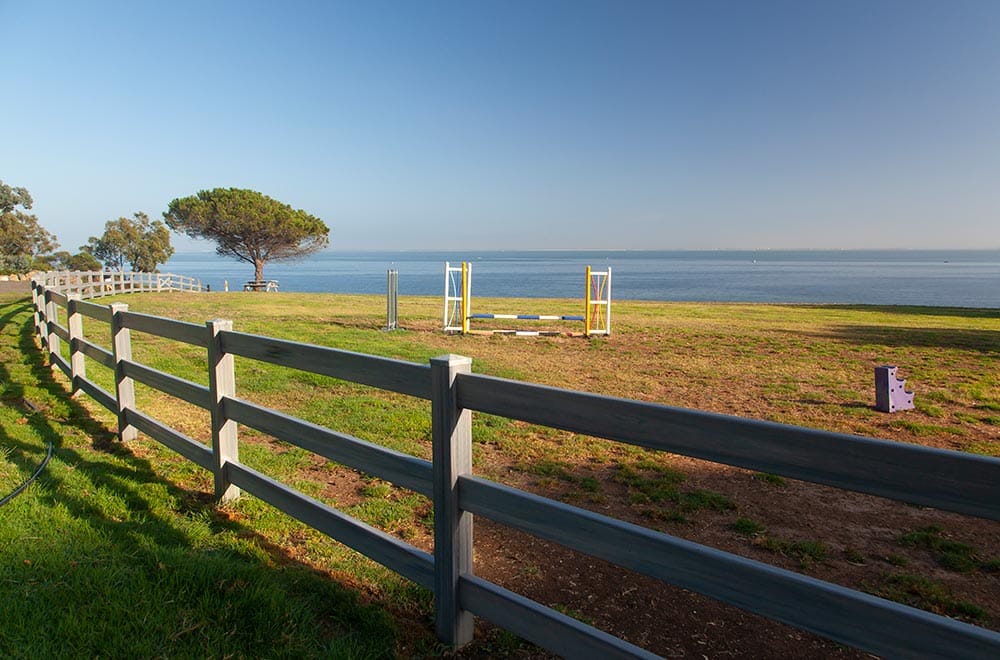
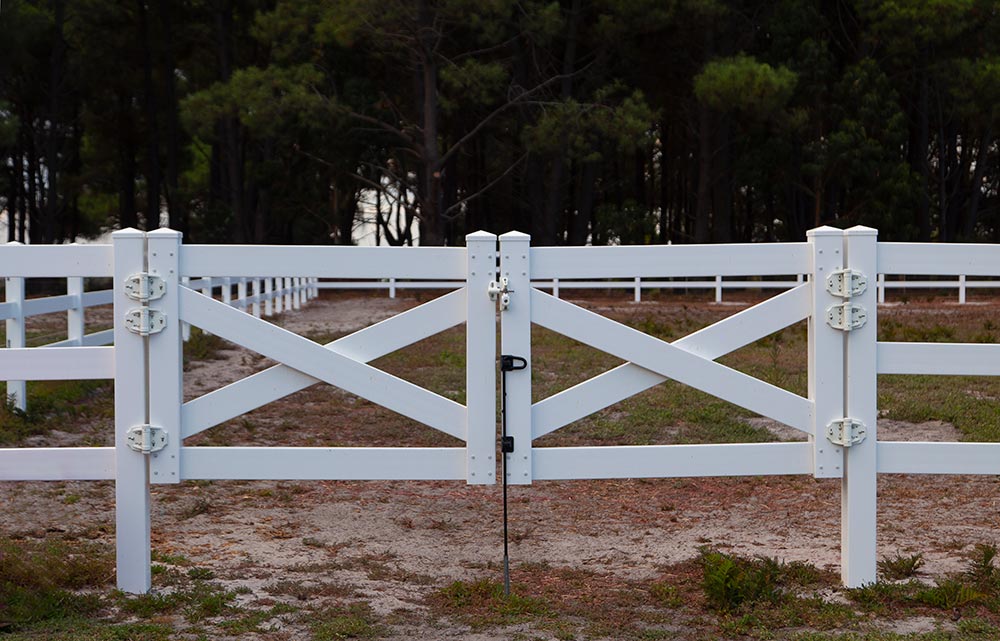
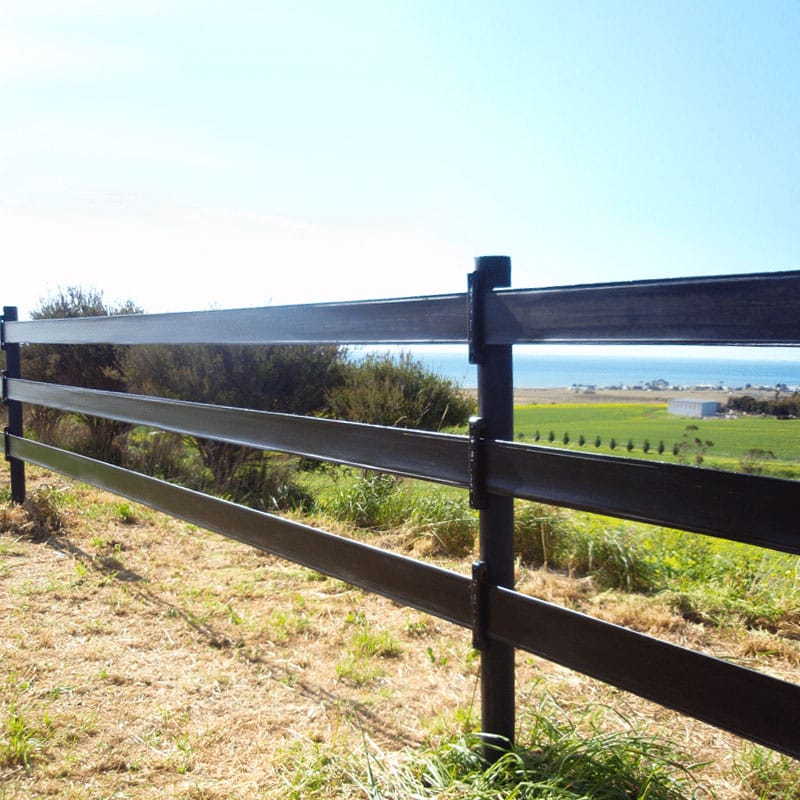
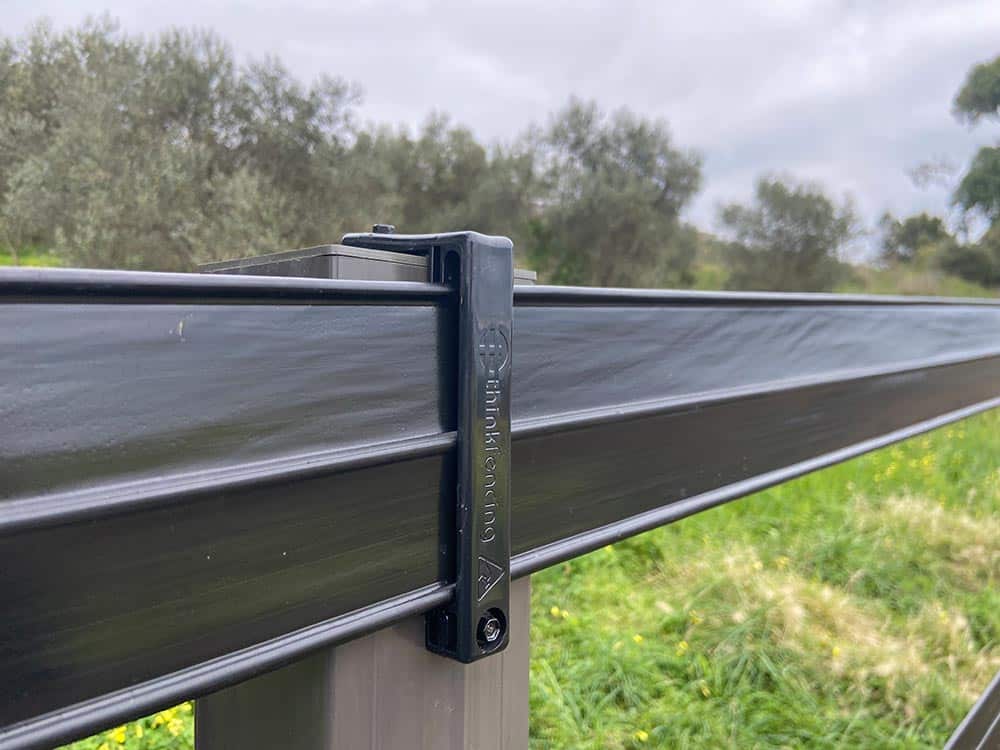
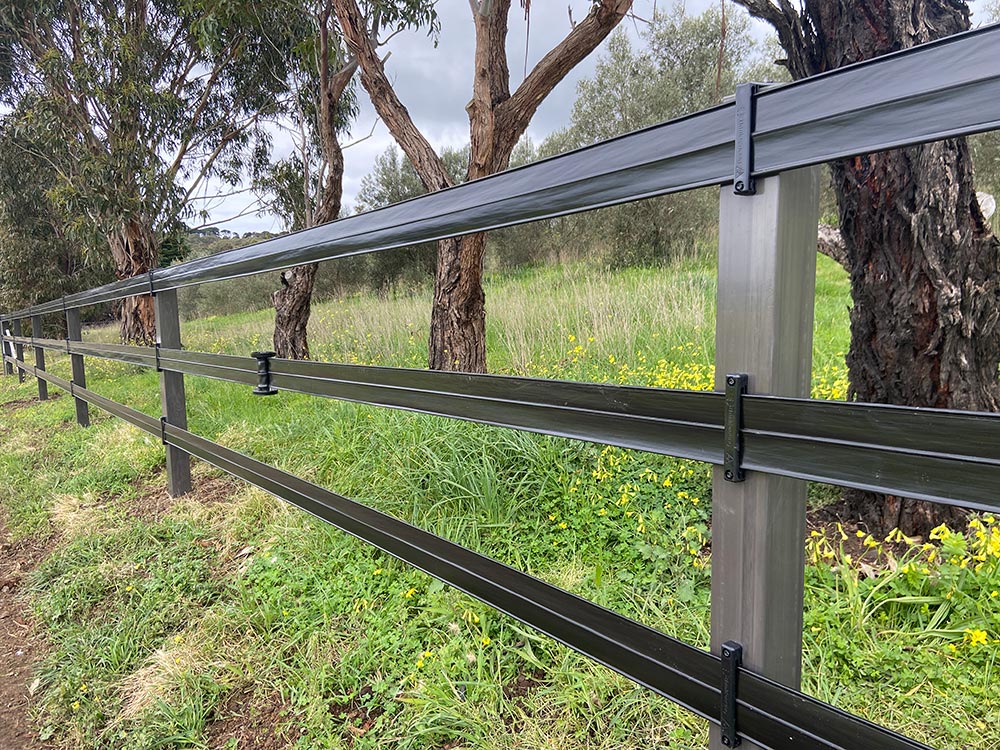
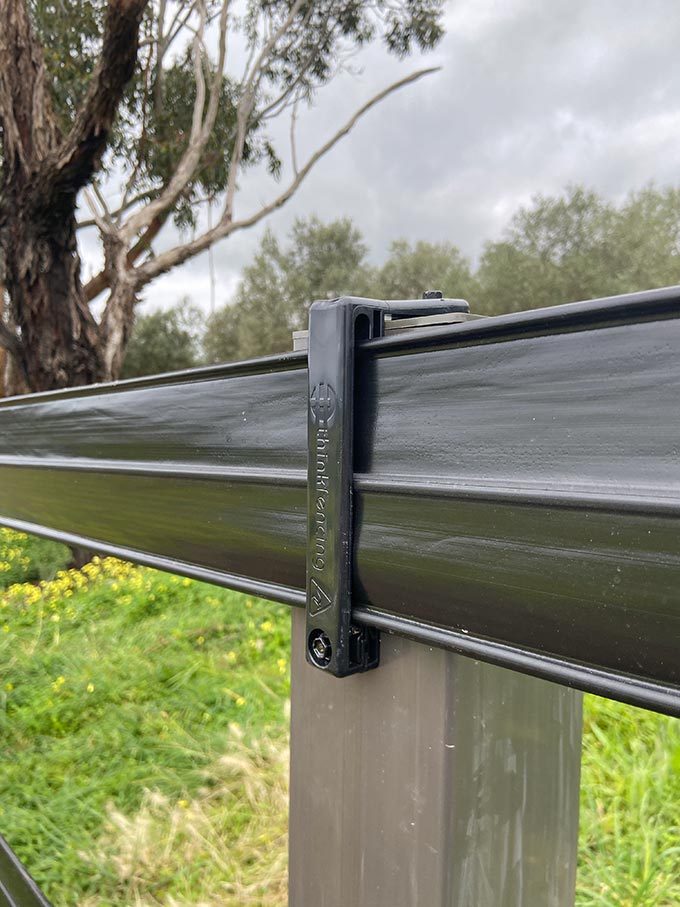
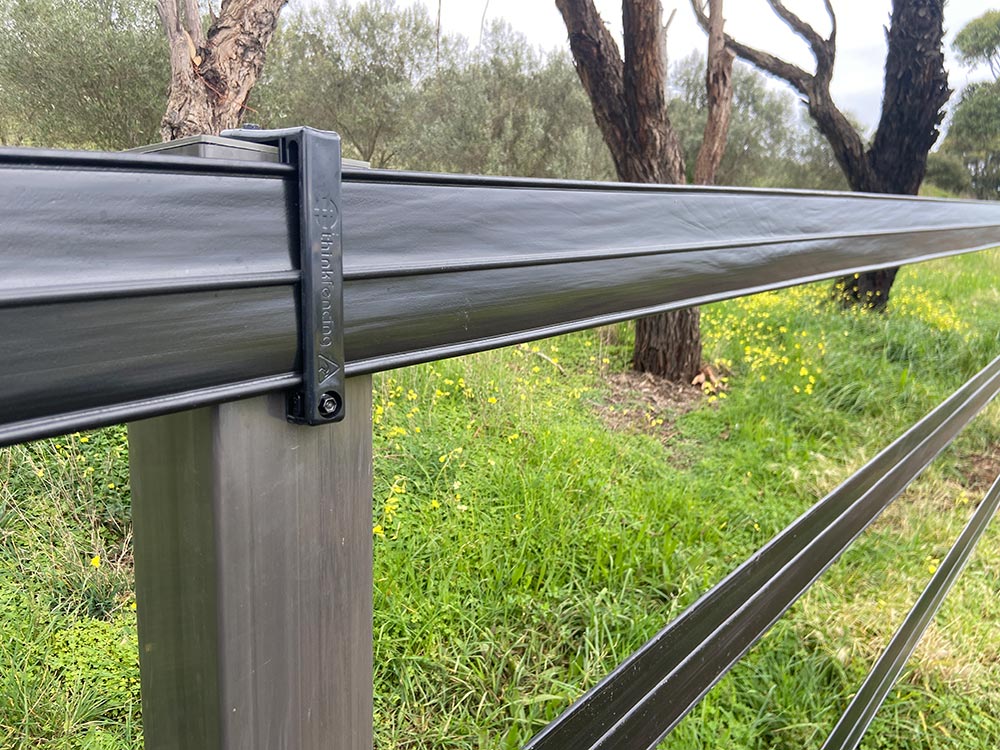
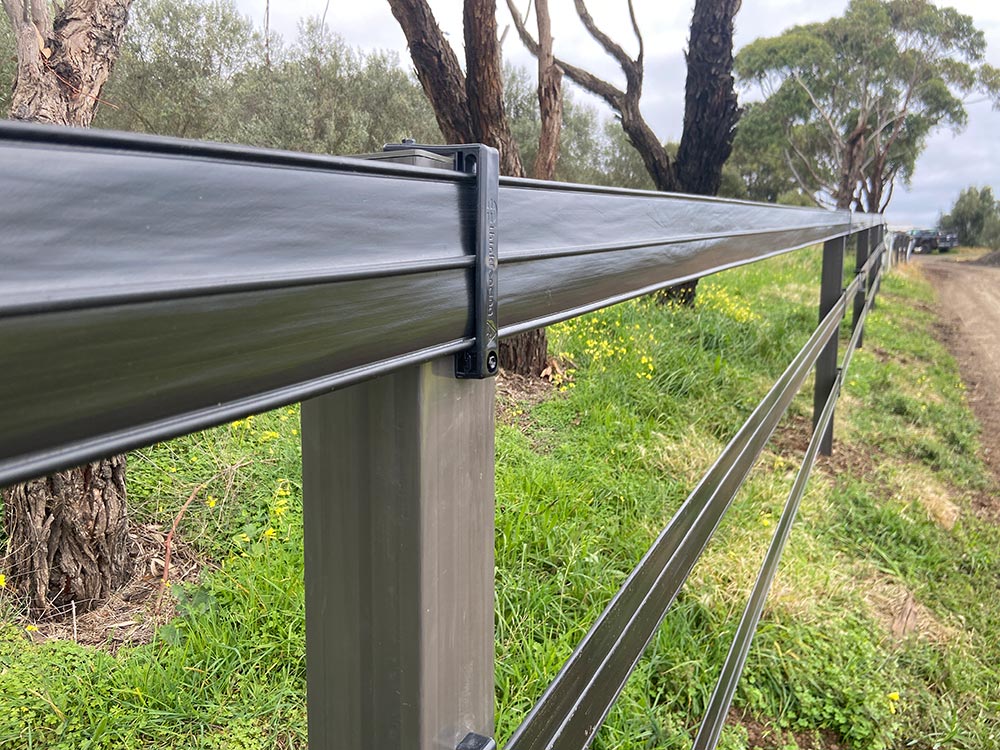
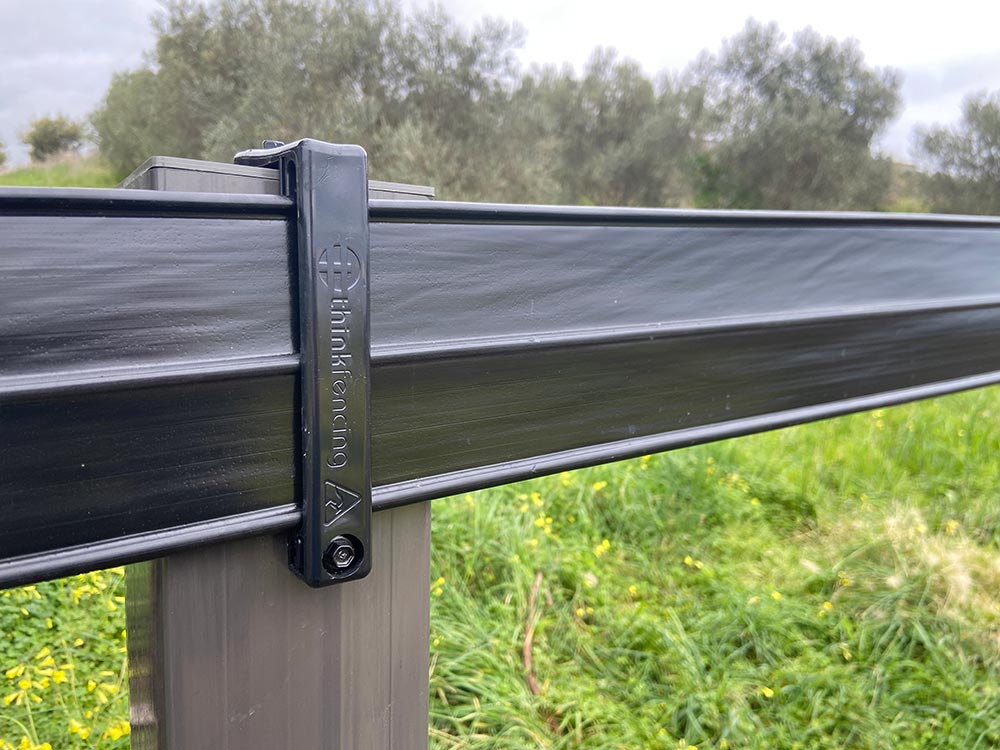
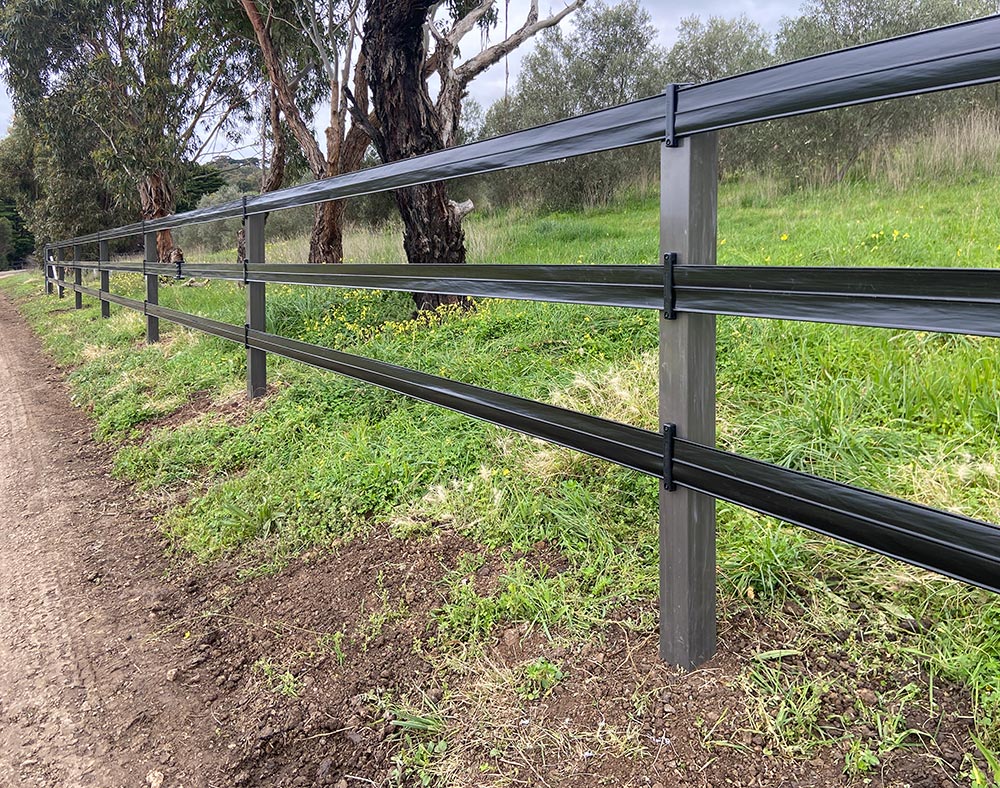
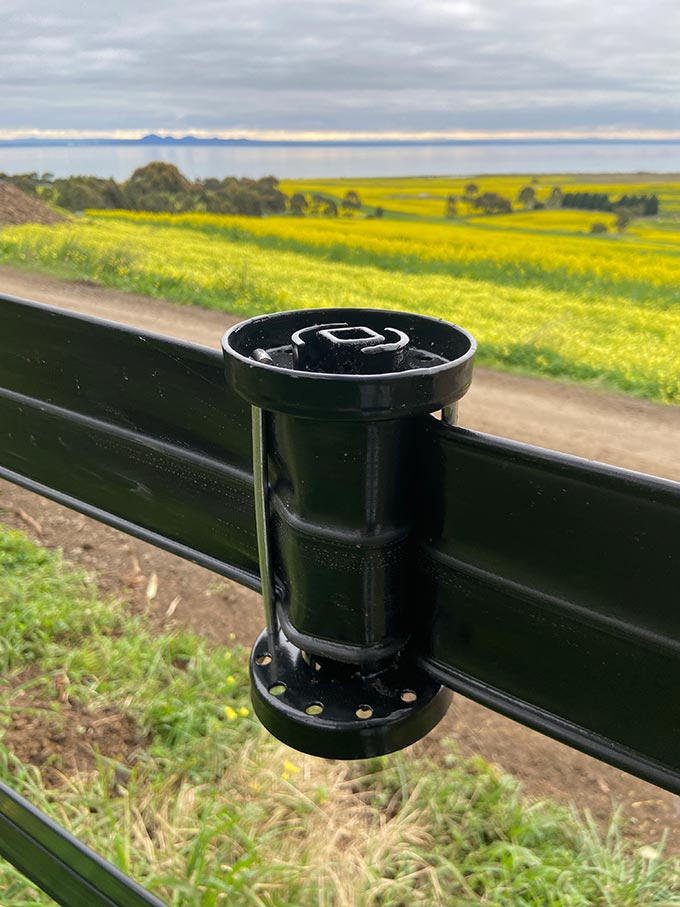
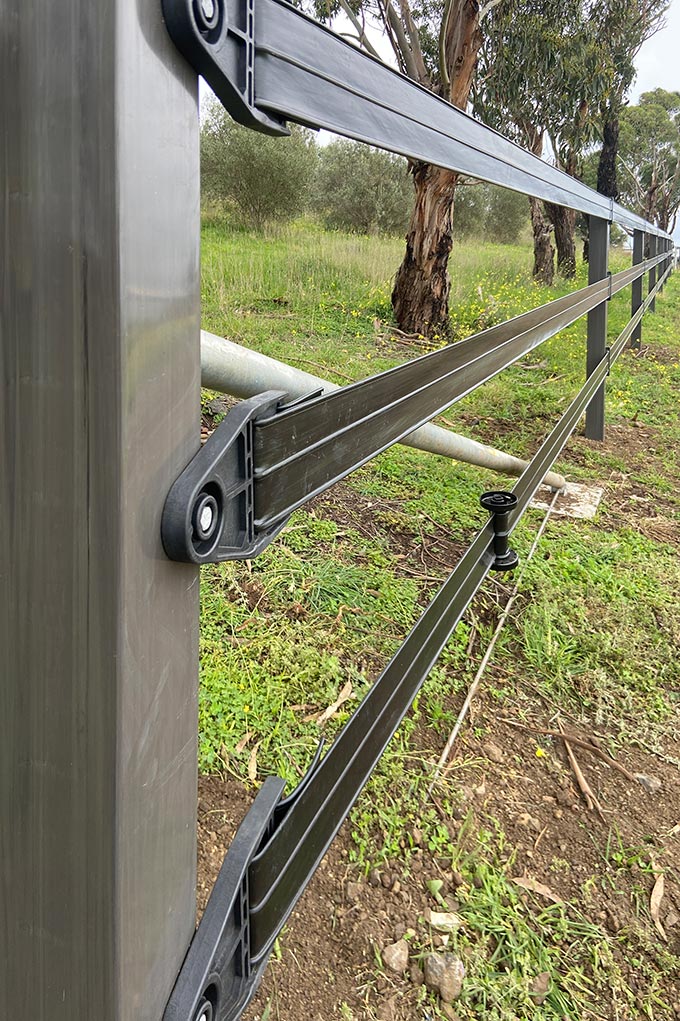
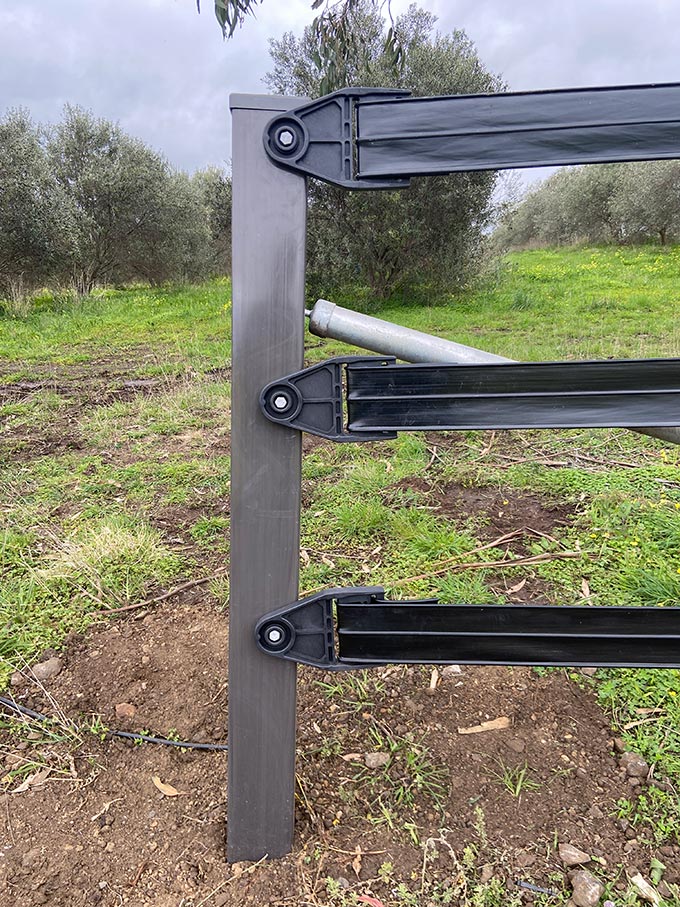
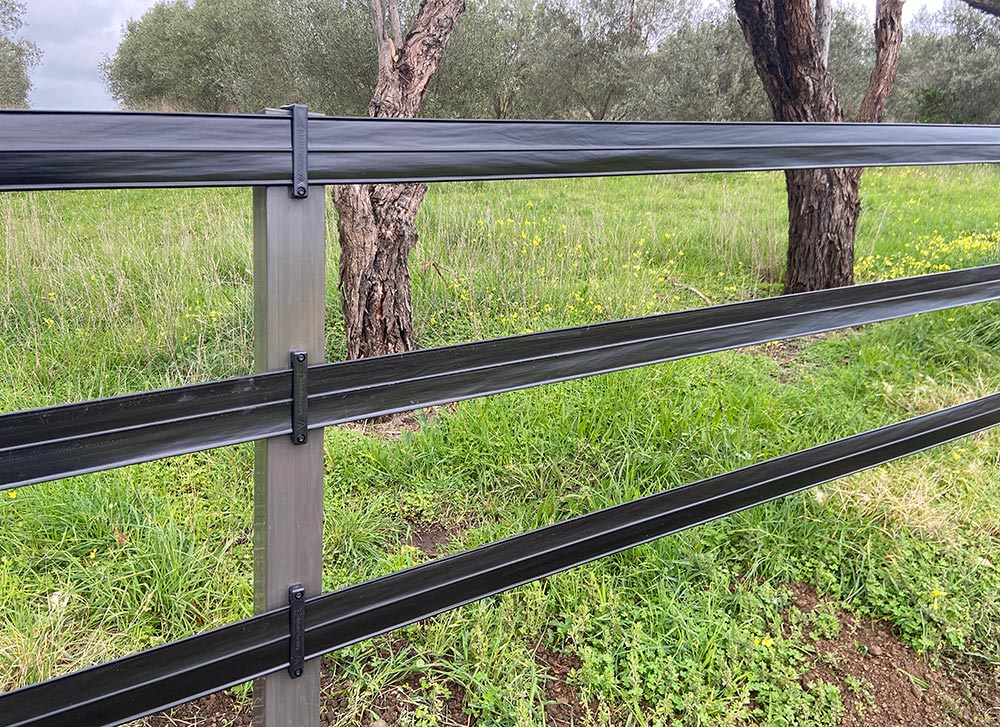
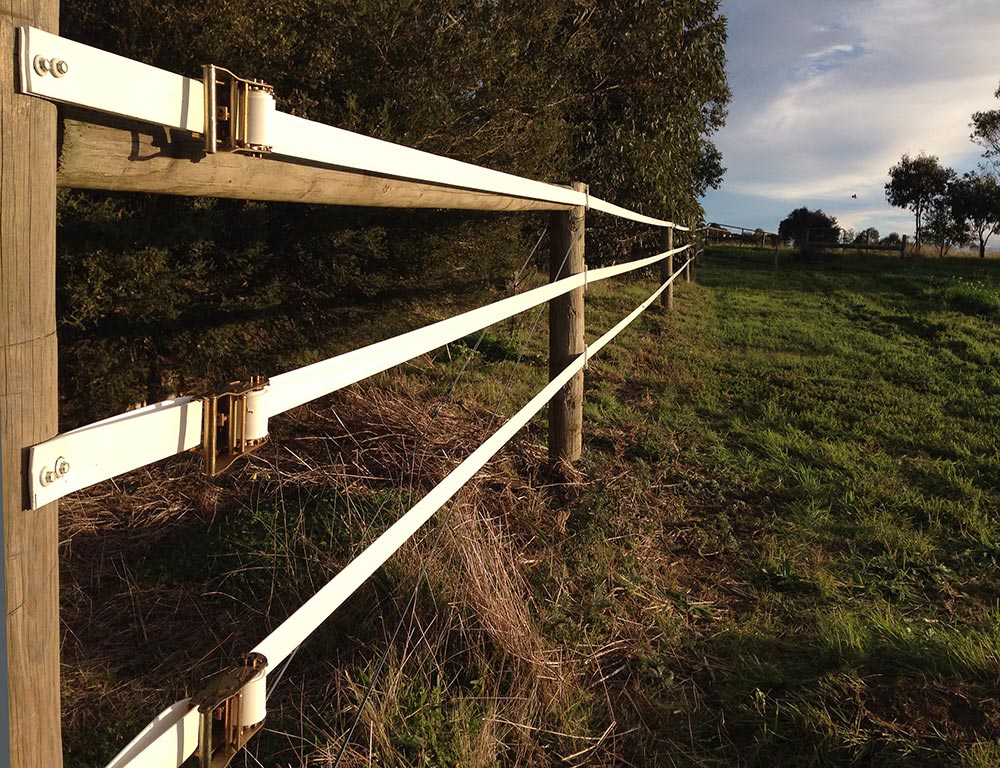
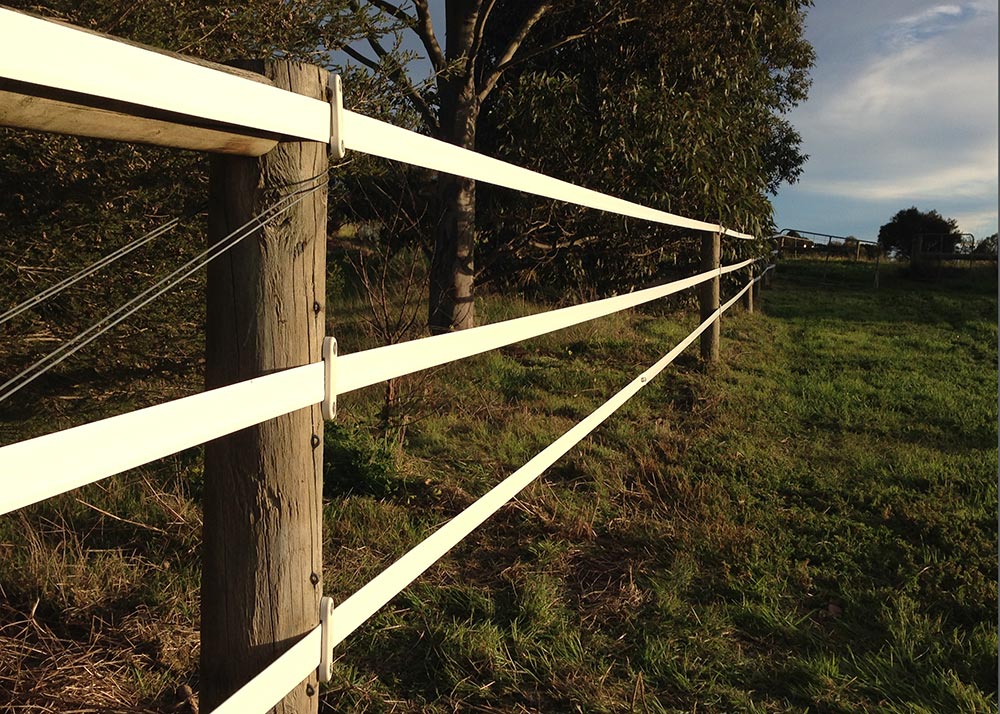
PVC post and rail fencing is a versatile system for boundaries, driveways and paddocks. It provides clear sightlines for animals and vehicles and holds its appearance for decades with minimal work.
- Suitable for hobby farms & rural properties
- High visibility for horses and livestock
- Custom rail options available
- No splinters or steel rusting
- Simple installation

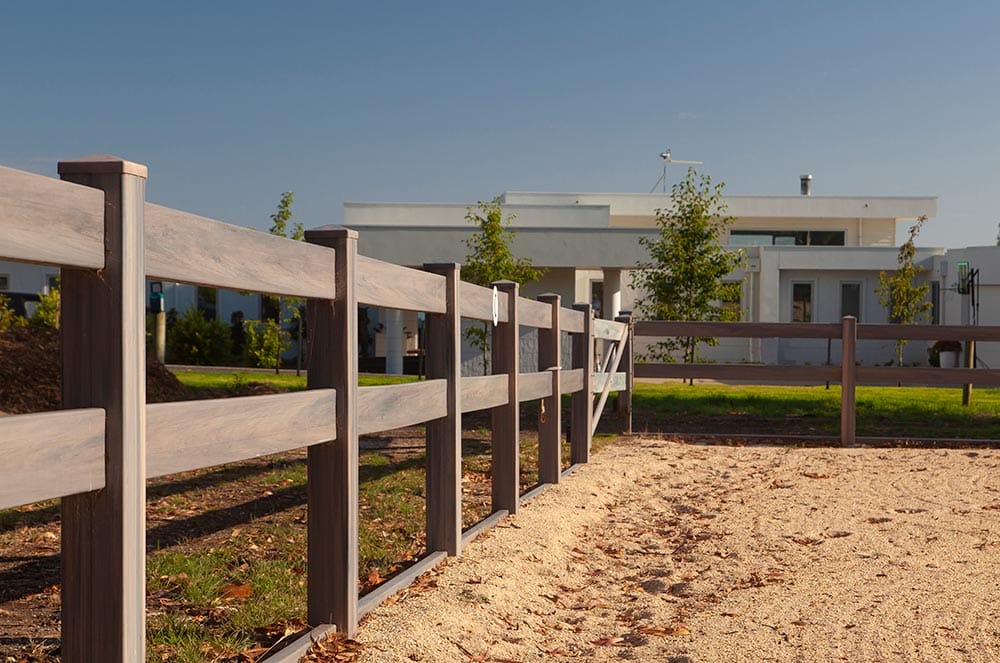
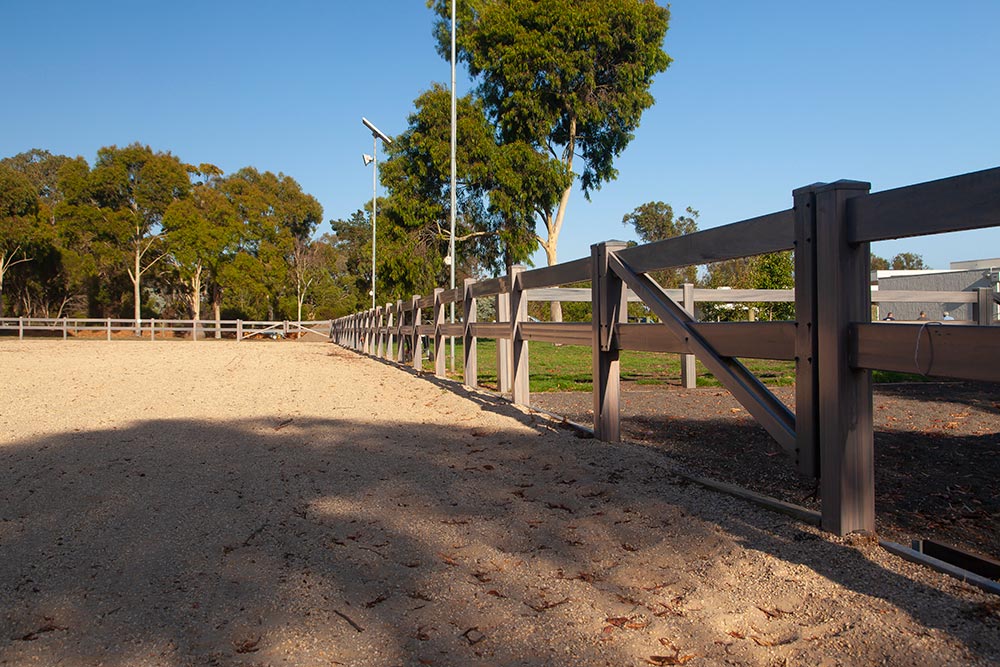
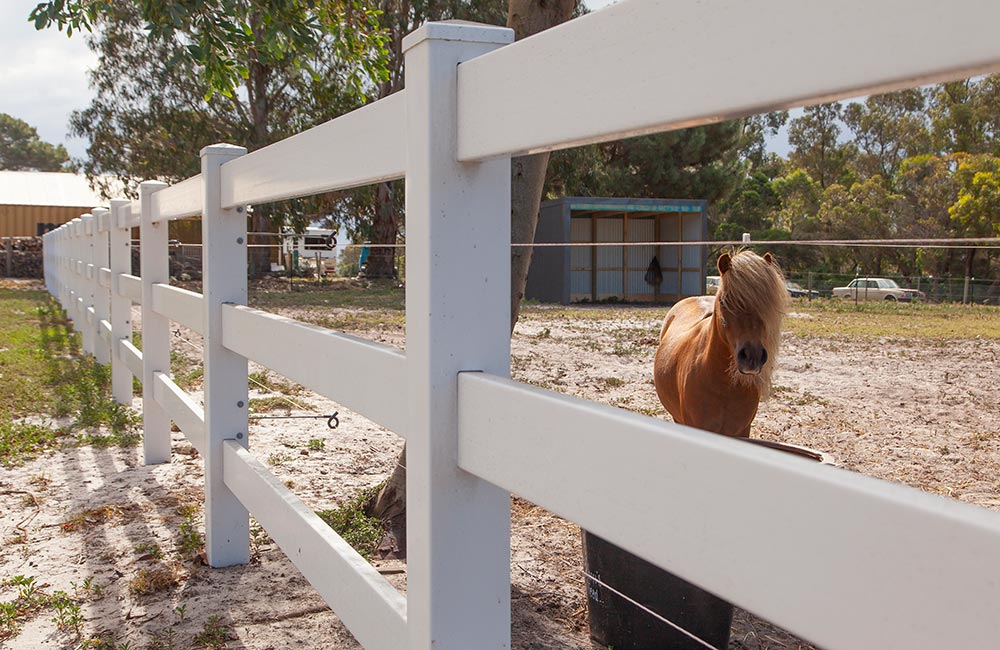
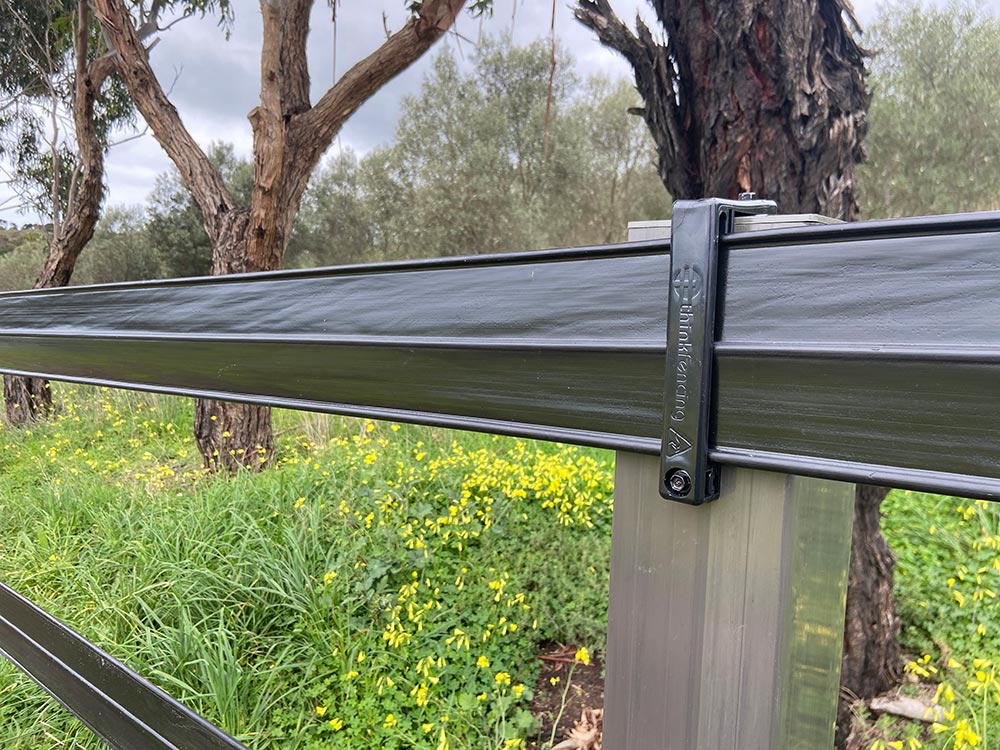
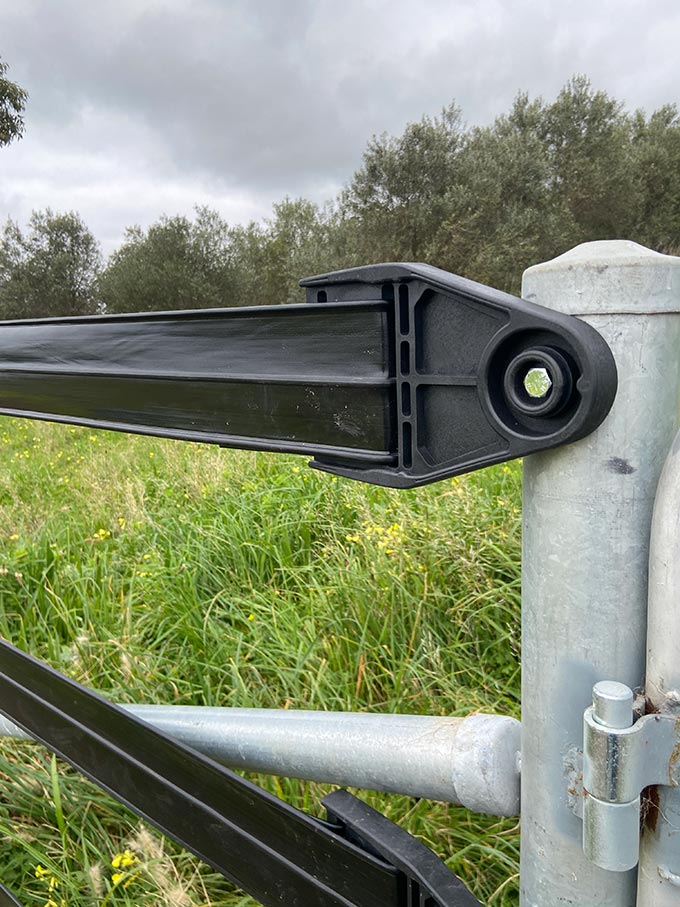
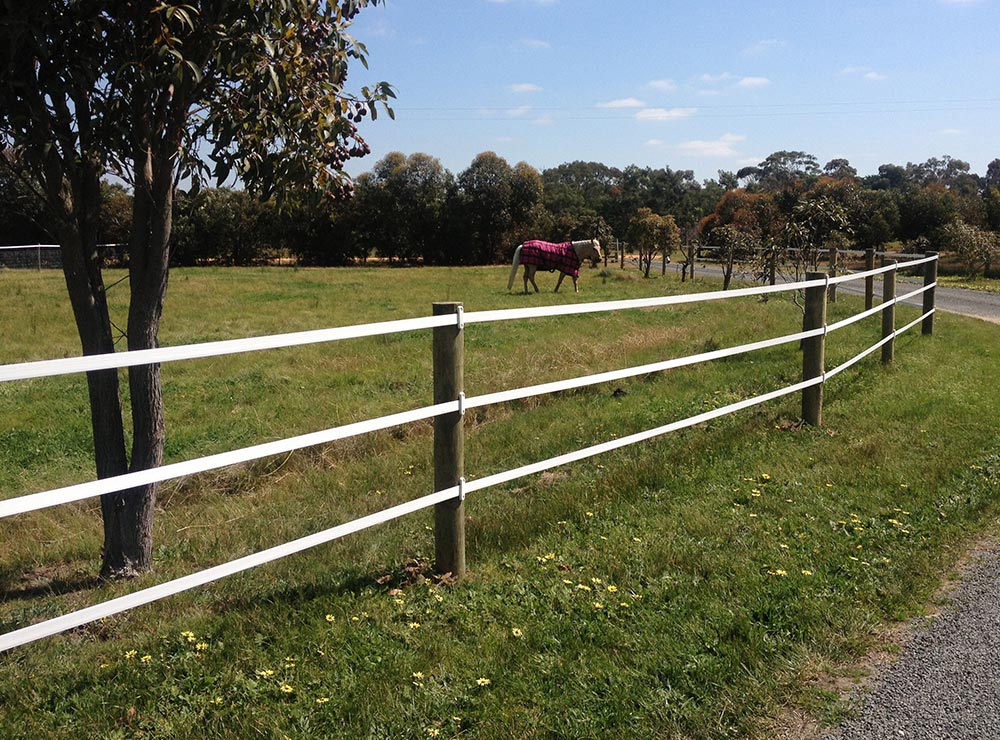
Our horse fencing systems are designed for paddocks, stable yards and arenas where safety and visibility matter most. Choose between Titan Rail for maximum impact resistance and electrification or Equirail for a flexible cost effective solution.
- Safe for horses and livestock
- Impact resistant options
- Electrifiable systems available
- Gates and access solutions available
Why PVC is Ideal for Rural Use
DIY Installation
ECO Friendly
Australian Made
Lifetime Warranty
Never Paint Again
Think Fencing doesn’t require painting ever, simple choose from our large colour range and relax knowing it will never require painting.
Graffiti Resistant
We all know fences are easy targets for graffiti artists, rest easy knowing our fences are coated in a graffiti resistant coating.
Rural Fencing FAQs
First mark out the correct post spacing. Next augur or dig a hole 300mm wide by 650mm deep. Fill the hole with a wet mix concrete mix and push the post into the concrete mix allowing the mix to flow up into the inside of the post.
First mark out the correct Gatepost location. Place the post in the hole and mark out the hinge location. Fit the hinge to the post making sure you have sufficient adjustment to correctly position the gate once the post is set. Place the post in the hole and fit the rails into the post. Before the rails are slid into the post block the ends of the rails with adhesive tape. Brace the post if required. Drive a single 12mm Steel Re-enforcing bar through the centre of the post into the soil then core fill the post with a wet mix concrete. After the concrete has set you can bolt the gate to the hinge.
All of Think Fencing’s coloured products are made from a PVC acrylic composite, the PVC makes up the structure of the profile and the Acrylic capping layer provides the colour. This is very important as coloured PVC that is not capped will fade very fast. Whilst we use the best products available today a 10-year-old fence will not look like a 10-week-old fence. (It will however look significantly better than a 10-year-old timber fence)
Think Fencing has a dedicated design and fabrication division that is equipped to assist you with all aspects of design and manufacture. If you have an idea we can make it a reality. Just send a basic sketch or an image of the style of fence you are trying to replicate. (We can also match colour-Subject to Minimum orders)
Yes, Think Fencing can make almost any gate design you want, Swing gates can be made up-to 2.4m each panel and sliding gates can be made up-to 6m long! All gates come with hardware made by D&D Technologies and are also 100% Australian made.
Think Fencing has been manufacturing Polymer fencing for over a decade in Australia and has tested its fencing systems in the harshest of conditions . Think Fencing employs modem technologies and polymers to create the best fencing systems possible,·and has tested them to in excess of 30 years. If a manufacturing defect is found within the life of the product Think Fencing will replace it.
The colours we use on our fencing products are not just a coating, they are a specific layer of Mechanically and Chemically bonded polymer that has been incorporated into the profile during manufacture. The result is colour that is durable, and is scratch and scuff-resistant.
Think Fencing is happy to accommodate any variations including picket or rail spacing. Simply let the design team know and they will provide a price.
Standard fencing provided by Think Fencing can already accommodate a 1.0 degree rake. Anything larger than this will require increasing the length of the slot by rasping it out on site or have Think Fencing provide custom routed posts and rails. Think Fencing can rake or step to accommodate a slope.
If the fence is to be installed around a corner with an angle between 0 – 45 degree the rail slot width can be increased using a rasp to allow for great angle or have Think Fencing provide custom routed posts.
Our fences are suitable for DIY. The most challenging part is to concrete posts into the ground and level the fence. After that everything simply “locks in”. Any fencing contractor or “handy” person should easily be able to install our fencing. Think Fencing provides detailed installation instructions and our staff are always happy to assist with any questions or concerns you or your installer may have.
Picket, Horizontal Slat and Post & Rail fences have a crimp on the rail and pickets facing outward. The crimp is designed to allow you to push the rail into the post but not pull out. Think Fencing hires the crimping tool to create the crimp. Mystique Privacy requires the rails to be tek-screwed in.
Think Fencing will always round up your requirements to the next panel ensuring you have enough materials for your job. All PVC components can be cut using a hack-saw, or aluminium cutting blade to enable you to shorten a panel. When cutting rails, ensure you leave at least 30mm on each side to slide into the posts. If rails need to be cut to shorten a panel, you may need to re-crimp the rail with the supplied crimping tool.
PVC Fencing is safe for Horses and Livestock. Think Fencing does recommend adding a additional electric conductor along the fence run. Post and Rail will flex before breaking, minimizing potential harm to horses and livestock.
Think Fencing has a Post & Rail Mesh option available. You can also attach mesh to our other fence styles. You will need to construct an end assembly to tension wires for attaching mesh to. Think Fencing can supply end assemblies.
Think Fencing can drill holes in the fence to allow an electric tape to be thread through. Alternatively an electric stand off can be screwed onto the post.
Equirail PVC Fencing
Think Fencing has been manufacturing Polymer fencing for over a decade in Australia and has tested its fencing systems in the harshest of conditions . Think Fencing employs modem technologies and polymers to create the best fencing systems possible,·and has tested them to in excess of 30 years. If a manufacturing defect is found within the life of the product Think Fencing will replace it.
Think Fencing has been manufacturing Polymer fencing for over a decade in Australia and has tested its fencing systems in the harshest of conditions . Think Fencing employs modem technologies and polymers to create the best fencing systems possible,·and has tested them to in excess of 30 years. If a manufacturing defect is found within the life of the product Think Fencing will replace it.
Our fences are suitable for DIY. The most challenging part is to concrete posts into the ground and level the fence. After that, everything simply “locks in”. Any fencing contractor or “handy” person should easily be able to install our fencing. Think Fencing provides detailed installation instructions, and our staff are always happy to assist with any questions or concerns you or your installer may have.
Our fences are suitable for DIY. The most challenging part is to concrete posts into the ground and level the fence. After that everything simply “locks in”. Any fencing contractor or “handy” person should easily be able to install our fencing. Think Fencing provides detailed installation instructions and our staff are always happy to assist with any questions or concerns you or your installer may have.
Equirail can be used with any post that you can screw Tek Screws into. This includes timber posts, steel posts and Think Fencing’s PVC Posts. We do not recommend the use of star stakes.
Equirail is 100% manufactured in Australia by Think Fencing. Custom rolls can be made up to 200m.
For sufficient tension, Think Fencing recommends starting and stopping with a new Equi-tensioner on each corner and end.
Equirail can be joined overlapping the two rails by 150mm and fixed using three 10mm long x M10 nuts and bolts.
After you have installed your posts and strainer assembly you bolt your Insul-Strainer to your end post and slide the Zappa Rail into it. Using a Shifting Spanner or 20mm Spanner crank the insul-strainer up until the Zappa Rail is straight and tight, if you do not have sufficient tension on the Zappa Rail it will sag and warp. The insul-strainer is a permanent fixture on your end post making maintenance simple and minimal, ensuring your Zappa Rail always looks great!
Helpful Tip: Zappa Rail is easier to install on a warmer day. We also recommend re-tensioning the rail on the first warm day after installation, to eliminate any warps or twists.
If you need to join the Zappa Rail you can achieve this by purchasing a Zappa Rail Joiner. Alternatively you can use gripples, which can be sourced from your local hardware store.
A standard electric fencing Energiser will work on Zappa Rail.
Using a Knife, strip away 20mm of conductive plastic exposing the wire inside. Using a wire joiner screw your active wire from your electric fence energizer into the exposed wire. Make sure your energizer is set up based on the specific operation manual for the best result.
Think Fencing has been manufacturing Polymer fencing for over a decade in Australia and has tested its fencing systems in the harshest of conditions . Think Fencing employs modem technologies and polymers to create the best fencing systems possible,·and has tested them to in excess of 30 years. If a manufacturing defect is found within the life of the product Think Fencing will replace it.
Our fences are suitable for DIY. The most challenging part is to concrete posts into the ground and level the fence. After that, everything simply “locks in”. Any fencing contractor or “handy” person should easily be able to install our fencing. Think Fencing provides detailed installation instructions, and our staff are always happy to assist with any questions or concerns you or your installer may have.
Zappa Rail has a 2000kg breaking strain. Zappa Rail will act like a seatbelt when a horse runs into it stretching and absorbing the impact. In the event of a significant enough impact the strainers will pull out of the end post and brackets will snap, it is very rare of the rail to break. The entire system is designed to minimise potential harm during an impact with the fence coming off second best to the horse whilst providing a strong enclosure.
Zappa Rail can be used with any post that you can screw Tek Screws into. This includes timber posts, steel posts and Think Fencing’s PVC Posts. We do not recommend the use of star stakes.
Due to Zappa Rail being tensioned much like a wire fence, you must have a sufficient End Assembly at the end of each run. End Assemblies are available through Think Fencing.
Think Fencing recommends a 3m – 4m post spacing for optimum strength. Equirail can however accommodate up to a 6m spacing.
Equirail is 100% manufactured in Australia by Think Fencing. Custom rolls can be made up to 200m.
For sufficient tension, Think Fencing recommends starting and stopping with a new Insulstrainer and End Bracket on each corner and end.
The black strip on the white Zappa Rail is the electrified side. The black Zappa Rail electrified side is glossier than the rest of the rail. When you receive your Zappa Rail roll there is a sticker pointing to the electrified wire. Take note of this.

Build Your New Fence Sooner
A new fence is an investment in your home’s privacy, security and street appeal. With Think Manufacturing Finance, you can get your project underway sooner and spread the cost over time.
